


Advantages and Disadvantages of Using Kamikaze Drone in War?
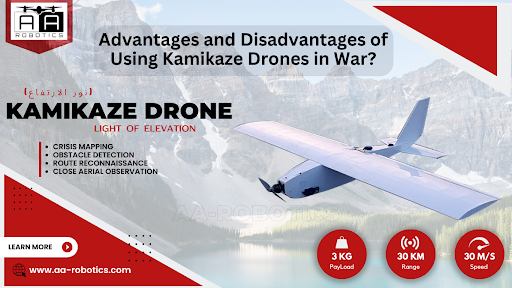
In contemporary warfare, unmanned aerial vehicles( UAVs) intended for single-attack operations—also referred to as kamikaze drones—are playing a bigger part. These "kamikaze" drones present both realistic benefits and moral dilemmas. Leading manufacturer of slice-edge kamikaze drone, AA Robotics, recognises the significance of moral progress in the assiduity. To give a fair assessment of this new technology, we will weigh the benefits and downsides of employing unmanned aerial vehicle in combat in this piece. Advantages of Kamikaze...


